
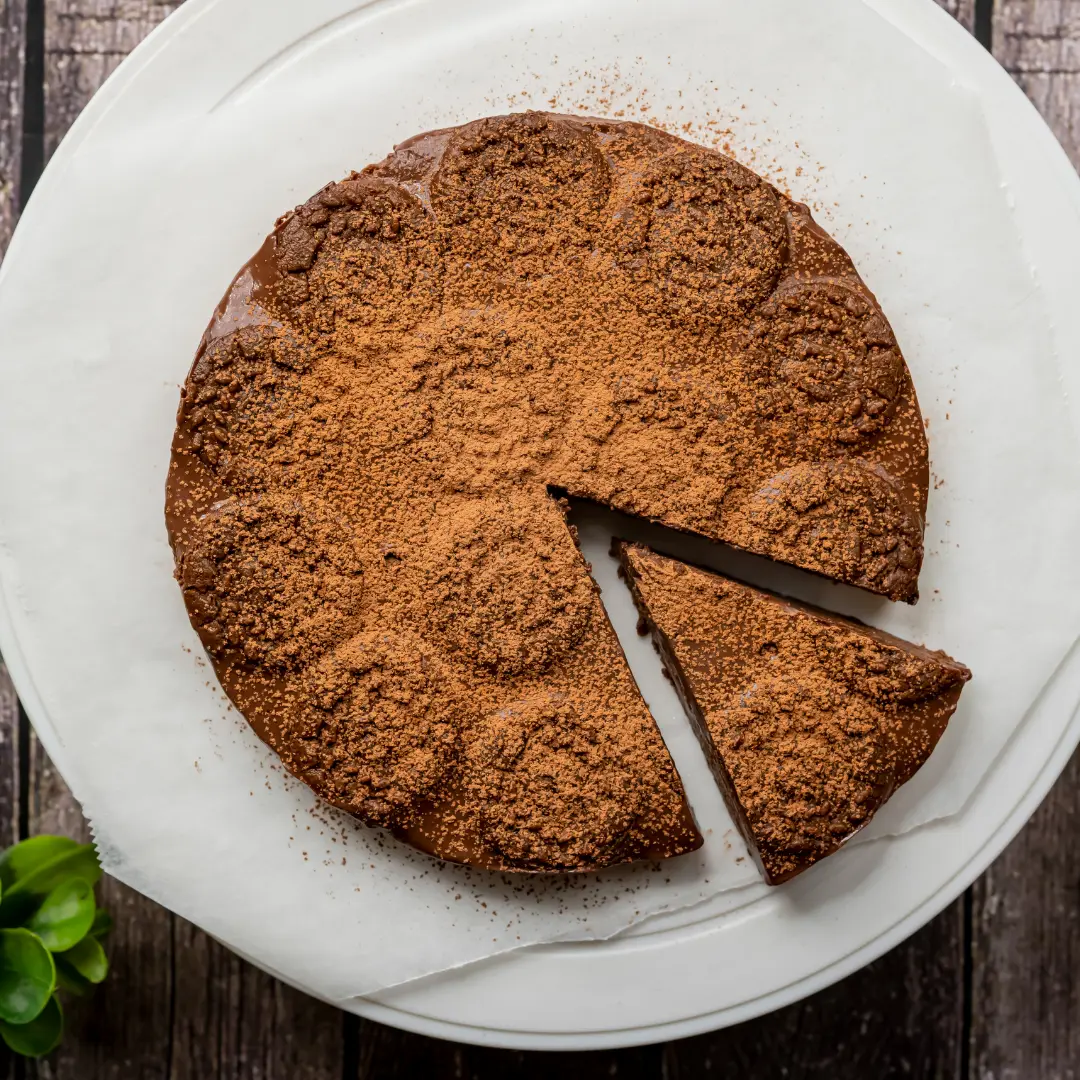
नो-बेक बॉर्नविटा बिस्किट केक
Also known as No Bake Cake, Biscuit Cake, Cake without Oven, dessert, baked · Veg · Sweets & Desserts, Cakes, Cookies & Bakes
Cook along
7 steps, each one filmed
A short video for every step, so your hands never have to leave the pan.
No-bake Bournvita biscuit cake: coffee-dipped biscuits layered with cocoa and dark chocolate sauce, frozen. Serves 5, 20 min plus freezing, video.
Ingredients
8 itemsपानी½ cup
इंस्टेंट कॉफ़ी पाउडर1 tbsp
दूध½ cup
कोको पाउडर1 tbsp
चीनी1 tbsp
डार्क चॉकलेट, कटा हुआ80 grams
बोर्नविटा बिस्किट250 grams
Contains: milk, wheat, soya.
Nutrition
One serving, and the whole batch of 5. Worked out from the ingredients, so treat it as a close guide.
| Nutrient | Per serving | All 5 |
|---|---|---|
| Energy | 358kcal | 1790kcal |
| Protein | 5.8g | 29g |
| Carbohydrate | 51g | 255g |
| Fat | 15g | 77g |
| Fibre | 3.4g | 17g |
| Sugar | 27g | 133g |
Cookd masalas for bournvita biscuit


Method
- 1
पानी और कॉफ़ी पाउडर मिलाकर अलग रख दें।
पानीइंस्टेंट कॉफ़ी पाउडर
- 2
एक सॉसपैन में मध्यम आंच पर दूध को कोको पाउडर और चीनी के साथ गरम करें।
दूधकोको पाउडरचीनी
- 3
उबाल आने के बाद गैस बंद कर दें।
- 4
कटी हुई चॉकलेट डालें और चमकदार होने तक अच्छी तरह मिलाएं।
डार्क चॉकलेट
- 5
तैयार करने के लिए: सांचे में सिल्वर फॉयल बिछाएं। बिस्किट को कॉफ़ी में डुबोएं और सांचे में एक परत लगाएं। ऊपर थोड़ा चॉकलेट का मिश्रण डालें। बिस्किट और चॉकलेट खत्म होने तक यही दोहराएं।
बोर्नविटा बिस्किट
- 6
ढककर रात भर फ्रीज़र में रखें।
- 7
सावधानी से सांचे से निकालें, कोको पाउडर छिड़कें, स्लाइस में काटें और परोसें।
कोको पाउडर
Tips from other cooks
Read every tip →Nobody has shared how this one turned out yet. If you cook it, add a photo and a line for the next person.
More like this
 Reel
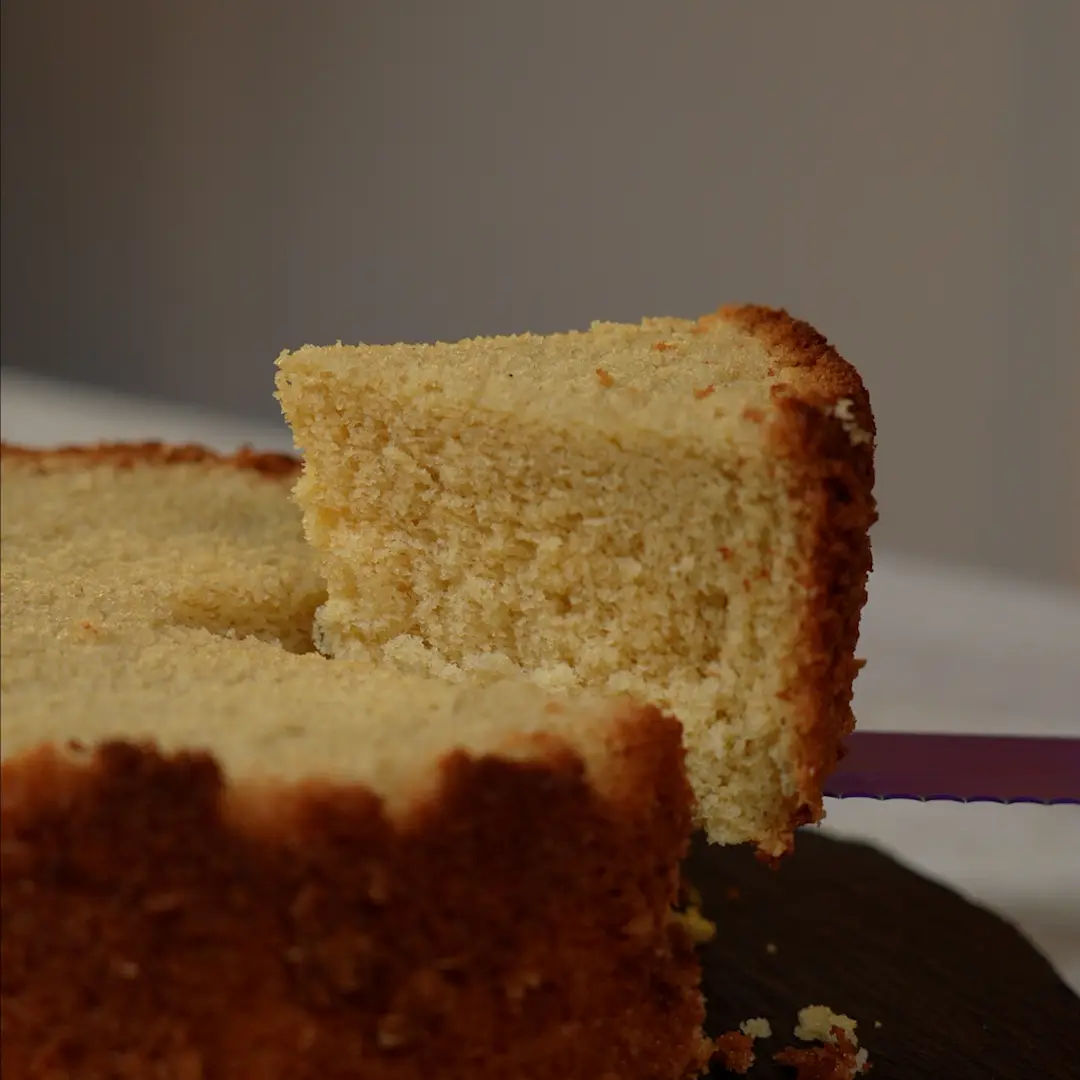
Reelनो-बेक वनीला स्पंज केक
50 mins445 cal
not spicy · Pressure Cooked
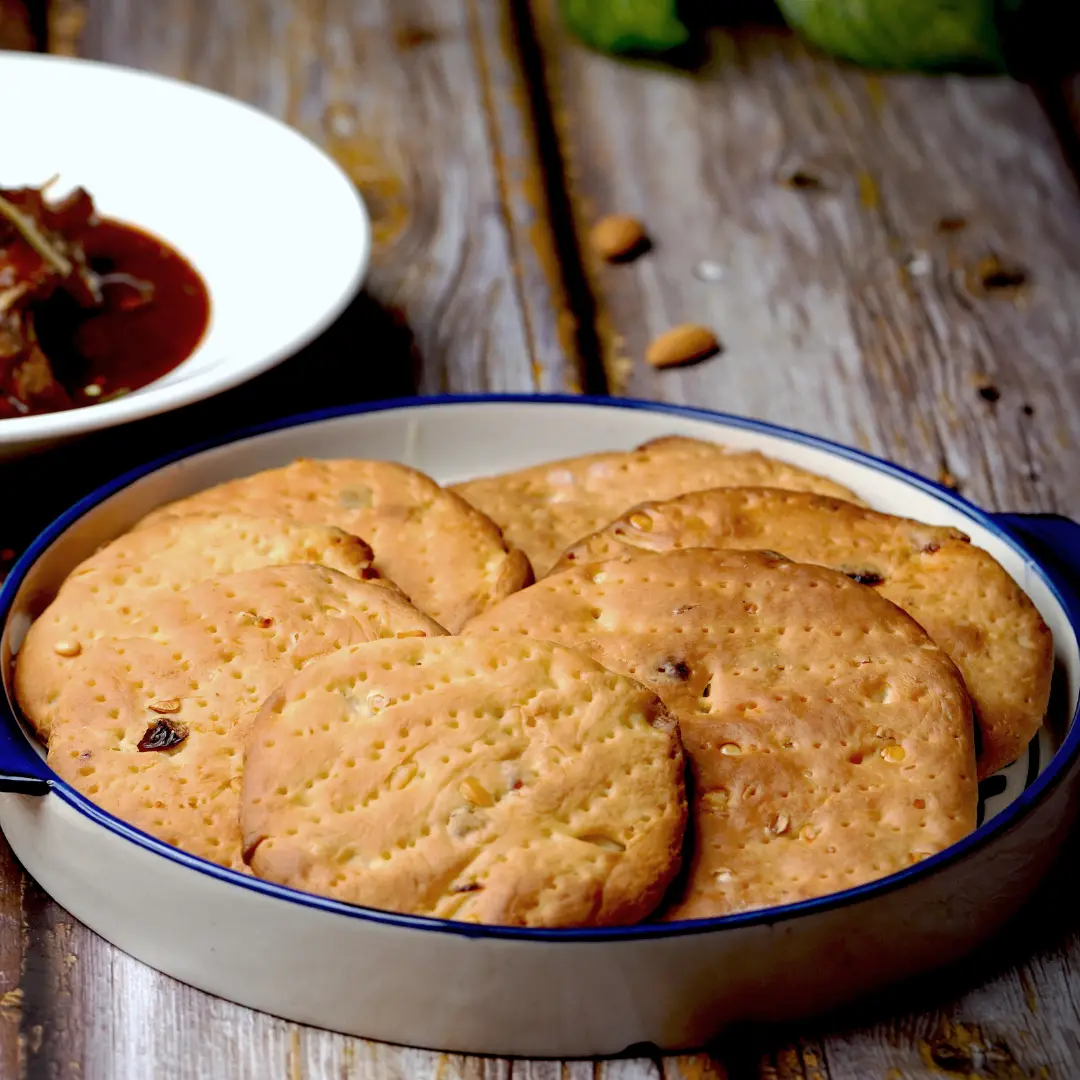
बाकरखानी
40 mins703 cal
not spicy · Baked
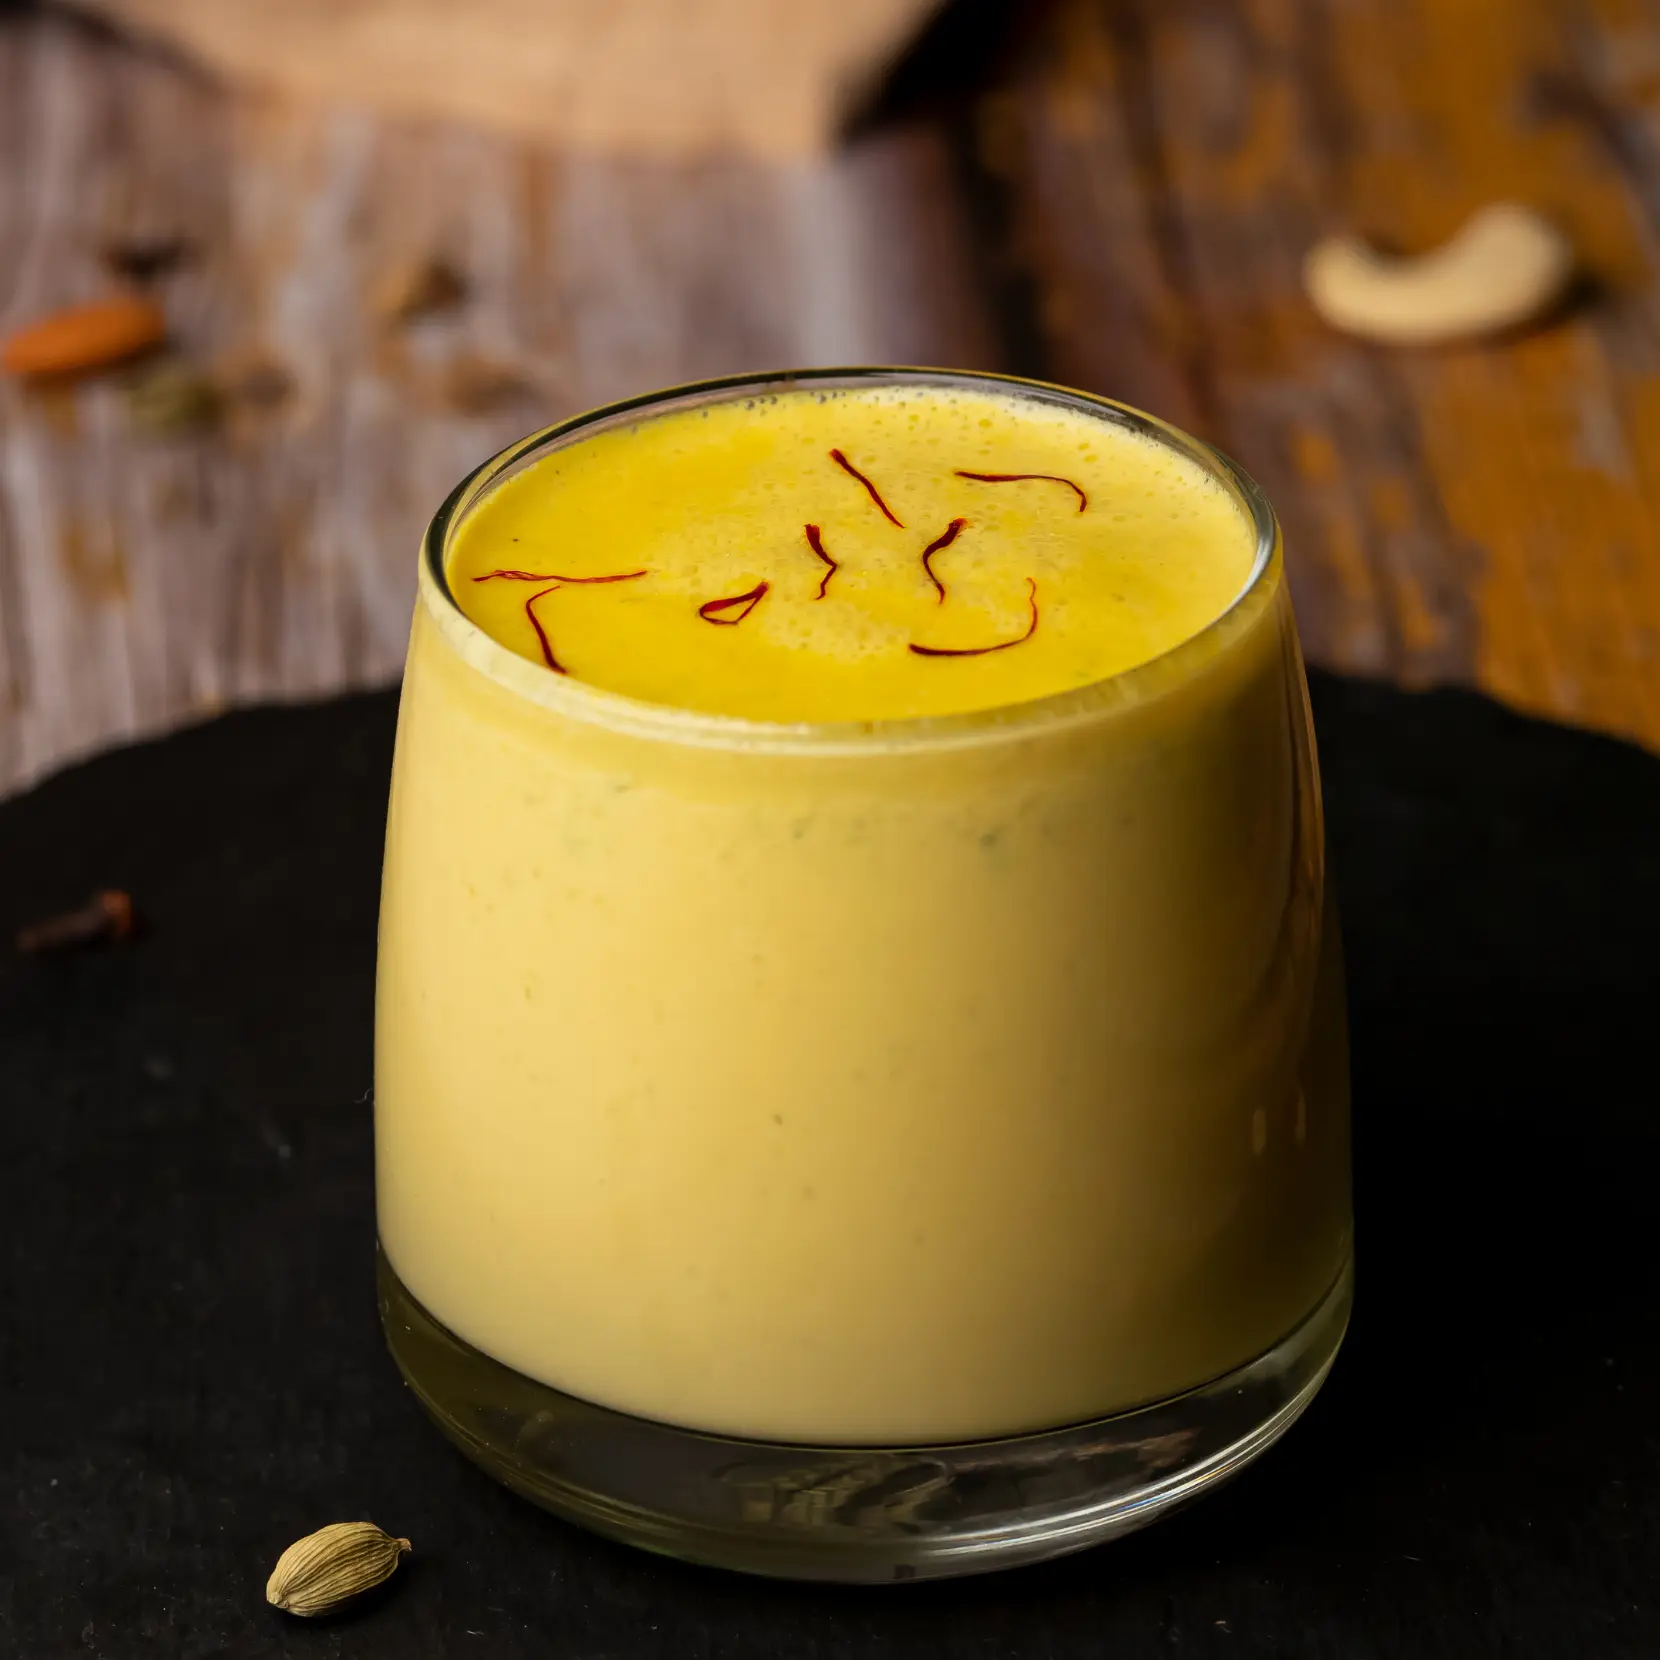
मसाला दूध
25 mins315 cal
not spicy · Simmered · Source of protein
शाही टुकड़ा
35 mins414 cal
not spicy · Pan-Fried · Source of protein
वेजिटेबल लज़ान्या
80 mins955 cal
not spicy · Stir-Fried · Source of protein